Automating Plug-Ins
You can automate changes to virtually all plug-in controls. In Pro Tools | First, plug-in controls are enabled for automation by default.
To enable (or disable) plug-in controls for automation:
1. Open the Plug-In window for the plug-in you want to automate.
2. Do one of the following:

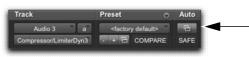
Click the Automation Enable button in the Plug-In window.
Automation Enable button for accessing the Plug-In Automation dialog
Control-Alt-Start-click (Windows) or Command-Option-Control-click the Track View selector in the Edit window.
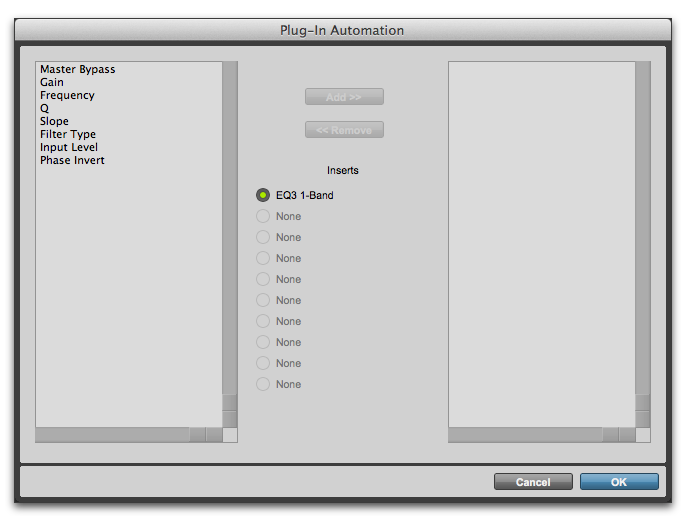
3. In the plug-in automation dialog, choose the controls to automate and click Add (or Remove). If there are multiple plug-ins on the same track, you can select from among them by clicking their buttons in the Inserts section of this dialog.
Plug-In automation dialog
4. Click OK to close the Plug-In Automation dialog.
To automate a plug-in:
1. In the Plug-In Automation Enable window, make sure plug-in automation is enabled for the controls you want to automate.
2. In the Mix or Edit window, for each track containing plug-ins you want to automate, click the Automation Mode selector and set the Automation mode. For the initial automation pass, select Write.
3. Start playback to begin writing automation, and move the controls in the Plug-in window that you want to automate.
4. When you have finished, stop playback.